Instructions On How To Split Bird-Of-Paradise Plants

Splitting Bird-of-Paradise Plants: A Comprehensive Guide
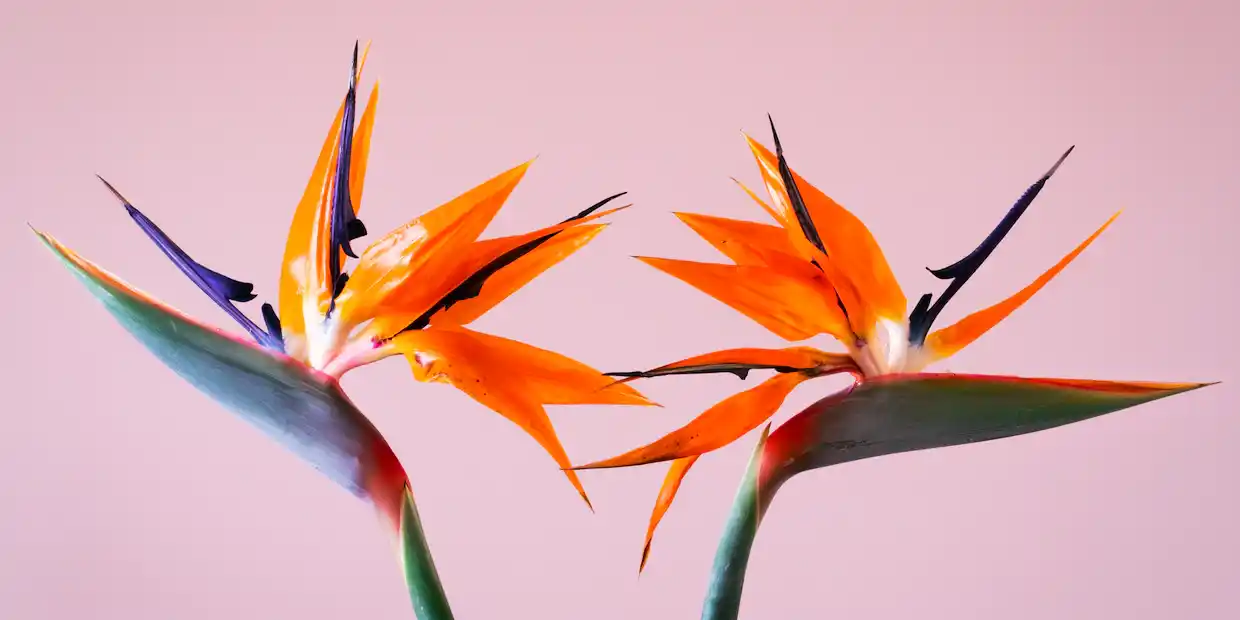
In today's lesson, we are going to go over the proper way to split bird-of-paradise plants. Many of you have requested that I write an essay on this topic, and the time has come to do so. But why would we want to split up the plant in the first place? If we want to have more arrangements than just one plant in one pot or if your plant has outgrown its pot but you do not have room for an extra big pot to repot your plant, we may split the plant and repot it in many other containers.
Sizes of Bird-of-Paradise Plants
Imagine There are three distinct sizes of birds of paradise in my collection:
- The nursery container holding the tiniest plant measured 10 inches in diameter.
- The nursery container the plant was growing in measured 12 inches in diameter.
- It was growing in a nursery container that was 14 inches in diameter.
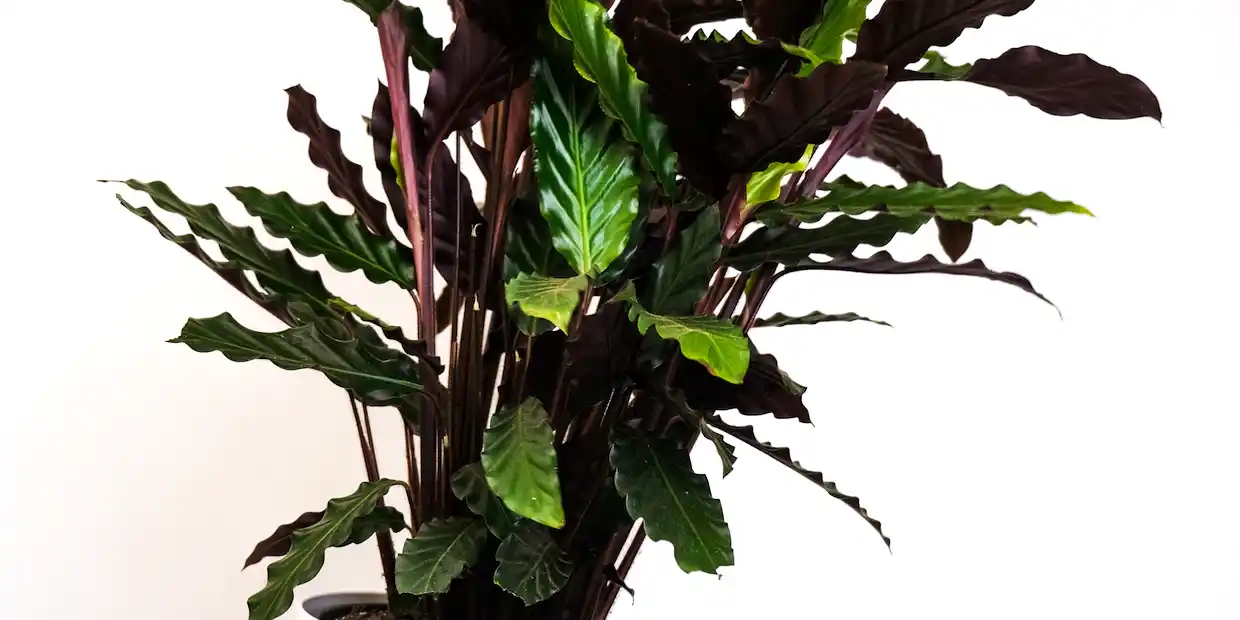
You'd be able to see how much bigger and more substantial the roots are on the larger plant. Furthermore, this plant has four stalks. Therefore, each stem becomes its own individual plant. This means that there is a distinct root system attached to each stem. Unlike over here, where there are just two stems, and you can see that there are a greater quantity of roots that are thinner and finer, over here there are three stems, and the roots are not even entangled yet.
Therefore, I am going to explain how to split both the smallest and biggest plants today so that you will be able to do it too. When I'm through dividing the plants, I'll have four unique arrangements of bird of paradise to choose from. That is very awesome to hear.
Required Tools
To make this work, I will need instruments that are very sharp. Because of this, I always carry a large knife with a sharp edge, a smaller knife, and a pair of scissors. In addition to that, it is vital that I consume alcohol.
Before we begin cutting any roots, we must thoroughly disinfect and clean the instruments in order to prevent any infection or other complications. I'm going to begin with the smallest plant first. There are three plants located inside the space. Therefore, separating them won't provide much of a challenge. I won't need the use of any instruments. It's easy enough for me to accomplish with my fingers. Simply take away some of the dirt to reveal the roots. You can see how quickly and easily it can be done. This is the first flower, as it were. Let's examine whether these are two plants or two stems sprouting from the same root system.
Now let's get to the big man. That will undoubtedly cause a great deal of difficulty. It's a considerably more mature plant. As you read this, imagine that there are four stalks in this arrangement, and I am sure that as they were growing, all the roots intermingled. Therefore, just dismantling them won't be a simple task at all. In order to cut them out, we will need to utilize the appropriate equipment. Just remove the dirt first so you can assess the situation and choose how best to proceed. The roots are thick and they're all coiled up here, and there is no gap in between. So you can't just simply rip it apart as with the younger plant. Don't forget to wipe off our equipment before getting to work.
Begin with the smallest of the stalks. If you can tell that it does not have a significant amount of root system, you may find that it is simpler to simply remove it by hand. So I will absolutely attempt to remove it first. You don't have to be afraid to cut the roots. It will not hurt the plant in any way. After being touched and, as you probably already know, separated and sliced, it will fall into a state of shock, but I can assure you that it will recover eventually. Guys, it's very vital to have knives that are nice and sharp.
Additionally, it is recommended that you cut in between the stems. So you don't destroy too many roots. It is comparable to slicing bread. You can see that if you have high-quality equipment, everything becomes much simpler. Now everything is public knowledge. Naturally, I will inspect the roots to see if any of them are mushy, injured, or infected with fungus. I will also look for any signs of fungus.
Repotting the Plants
The next thing that has to be done is to give each plant its own individual container to grow in. Even if the container you're using does not have an adequate depth, you may still cut some of the roots back. Permit me to demonstrate. Once again, a highly sharp instrument has been sterilized. Let's assume that this pot does not have adequate depth to accommodate this root ball. You just need to clip the roots back. My opinion is that it is not necessary to remove more than twenty percent of the roots. We do not want to shock the plant any more since it might cause its system to become compromised. You can see that this way, it is a bit shorter, and if your planter is not deep enough, you can use a pot to give it more room for the roots. If your planter is not deep enough, you may use a pot.
A plant with a single stem will be planted in a clay container that is eight inches in diameter, while a plant with two stems will go into a Lichuza planter that takes care of its own watering. This planter is eight inches high and this planter is eleven inches high, but the potting area's inner diameter is only nine inches. This is an appropriate amount of space for the two plants.
Now we get to the main character. I got four plants out of one nursery container that was 14 inches tall, and I'm going to build two arrangements with double stems from those plants. In addition to that, I will get started on arranging things inside of the Lichuza self-watering classical planter. The overall height of the planter is 14 inches, but the usable area within is just 11 and a half inches.
Aftercare and Conclusion
Now that we have tormented the plant a little bit by cutting it back, dividing it, and repotting it, we need to give it an extremely generous amount of water. So I'm going to begin with the younger of the two. And while I'm going through this, I just want to make sure you know that the plants will experience some degree of shock. Yellowing of the leaves and maybe a sagging appearance are two symptoms that may appear as a result of the shock. You may simply trim off any leaves that are damaged by the conditions. Don't worry, the plant will recover as long as it receives the attention and care it needs, and it will begin producing new leaves for you.
Important Note: Birds of Paradise plants need repotting about once every two years on average. Due to their rapid growth, it is crucial to avoid allowing them to become too root-bound. If you want to learn more about taking care of this plant, read this post for a comprehensive guide.
For further information on other aspects of plant care, consider
| Plant Type | Container Diameter (inches) | Planter Type | Planter Dimensions (inches) |
|---|---|---|---|
| Single Stem | 8 | Clay Container | 8 (height) |
| Two Stems | 8 | Lichuza Self-Watering Planter | 11 (height), 9 (inner diameter) |
| Double Stems from 14" Plant | - | Lichuza Self-Watering Classical Planter | 14 (height), 11.5 (usable area) |
About the Author
Chris Hall
Green Thumbs Aren't Born, They're Made! Christopher Hall has been an avid indoor gardener for over 10 years and has helped many friends and family members keep their plants alive and thriving. He has a blog, which is dedicated to teaching others how to cultivate healthy plants indoors.